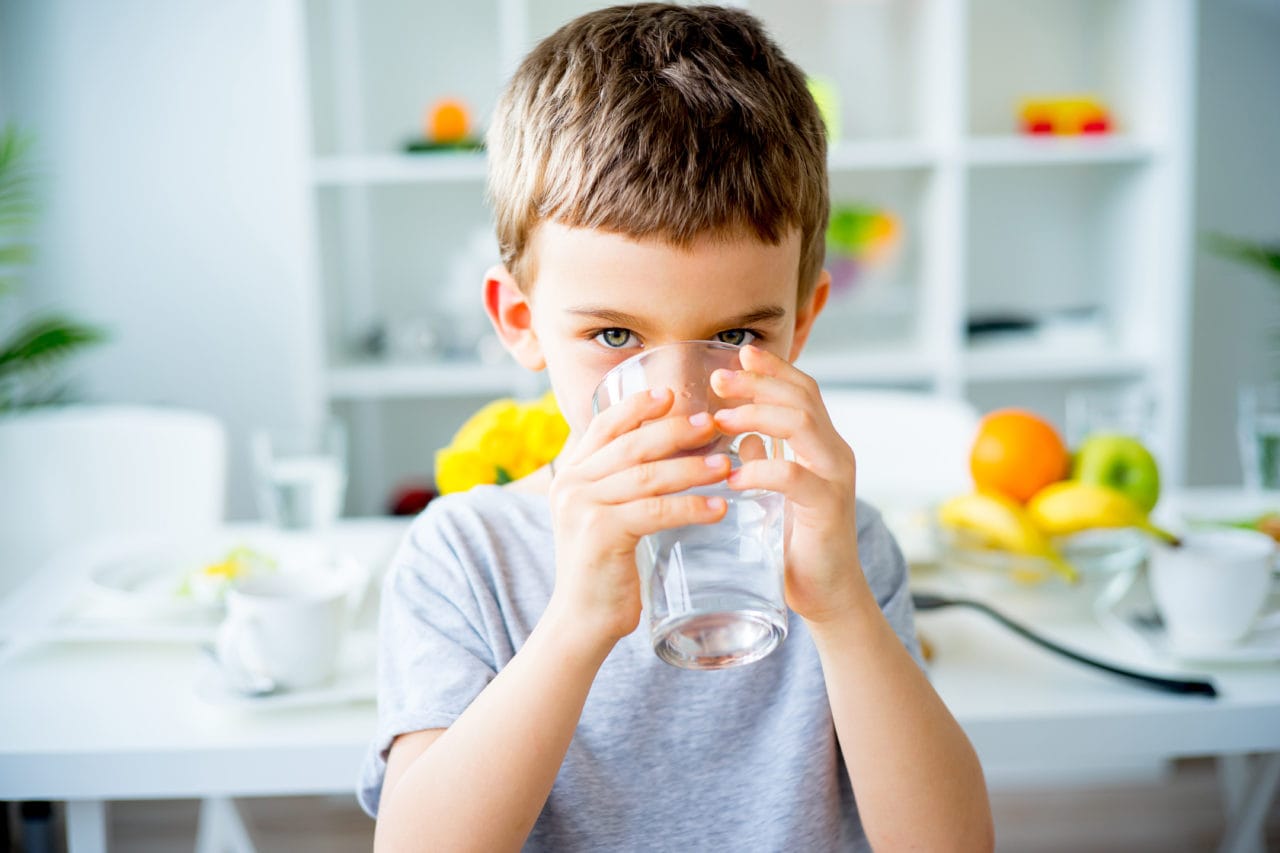
Water Quality
All you need know about water quality
The quality of our water supply is checked and monitored by the Drinking Water Inspectorate (DWI) against the Water Supply (Water Quality) Regulations 2016.
You can find out more about the DWI and our Water Quality by clicking the button below
Tastes & Smells
Fluoride & Hardwater
Helpful tips
Here are our tips on keeping up the water quality in your home and list of Water Safe approved plumbers.
Need a plumber?
If you need a plumber, we recommend that you select one that is an eligible member of an Approved Plumber/Contractor Scheme, such as WaterSafe.
What is WaterSafe?
- WaterSafe is an online search facility which brings together thousands of qualified contractors employed by plumbing businesses from the 7 existing Approved Contractors’ Schemes across the UK.
- WaterSafe aims to raise plumbing standards by helping customers find the nearest qualified plumbing and heating professionals.
To find out more about WaterSafe or to search for a plumbing business in your area, visit watersafe.org.uk
Fitting a check valve
How to install a check valve – Recommended equipment
- A large bucket
- A screwdriver
- Wrench
Instructions
- Firstly, switch off the cold water supply to the appliance. You will find this usually at the back of the appliance or near the flexible hose that is connected to the plumbing. There will be an isolation valve at the top of this hose, which needs to be switched off. This is where you will most likely use a screwdriver.
There may be water left inside the hose you have disconnected place a bucket underneath to catch any water.
- Check the round washer is present in the large end of the check valve and then screw the valve onto the isolation valve. This will only fit the correct way around.
- Check the washer is present in the flexible hose and then connect this to the check valve.
- Manually tighten and then use a wrench to make securely in place. Make sure you don’t over tighten and damage the plastic elements of the valve.
- Open the isolation valve slowly, checking for any leaks. It’s a good idea to keep the bucket or bowl in place just in case.
If you spot any leaks, switch the isolation valve off again and re-tighten the valve. We recommend you keep an eye out for any leaks up to 15 minutes after installation.
 >
>